Text #
The Text Bubble block allows you to display a simple text message to your user. Text bubbles are used to say hello, share details, or give information before asking a question.
Message Editor #
Type your message directly into the text box. You can format your text using the toolbar options at the top:
- B (Bold): Make important phrases stand out .
- I (Italic): Emphasize specific words.
- U (Underline): Highlight important text lines.
Insert a Link #
You can easily add hyperlinks directly inside your text bubbles using the link icon (🔗) inside the editor toolbar:
- Supported Formats: You can insert links starting with http:, https:, mailto:, tel:, or sms:.
- Variables: You can also pass a variable into the link field to create dynamic redirects.
Use Variables #
You can make your messages feel personal by displaying saved user information dynamically.
- How to use: Type your variable inside double curly brackets, like this: {{variableName}}.
- Example: “Hello {{name}}! How can I help you today?”
This will automatically display the user’s actual name inside the chat bubble.
Typing Delay (seconds) #
This settings field controls the human-like pause before the message pops up.
- How it works: Enter the number of seconds (e.g., 1 or 2) you want the bot to wait.
- Typing Indicator: While waiting, Formgic will display an active “typing…” dot animation. This makes your chatbot feel friendly and natural, like talking to a real human.
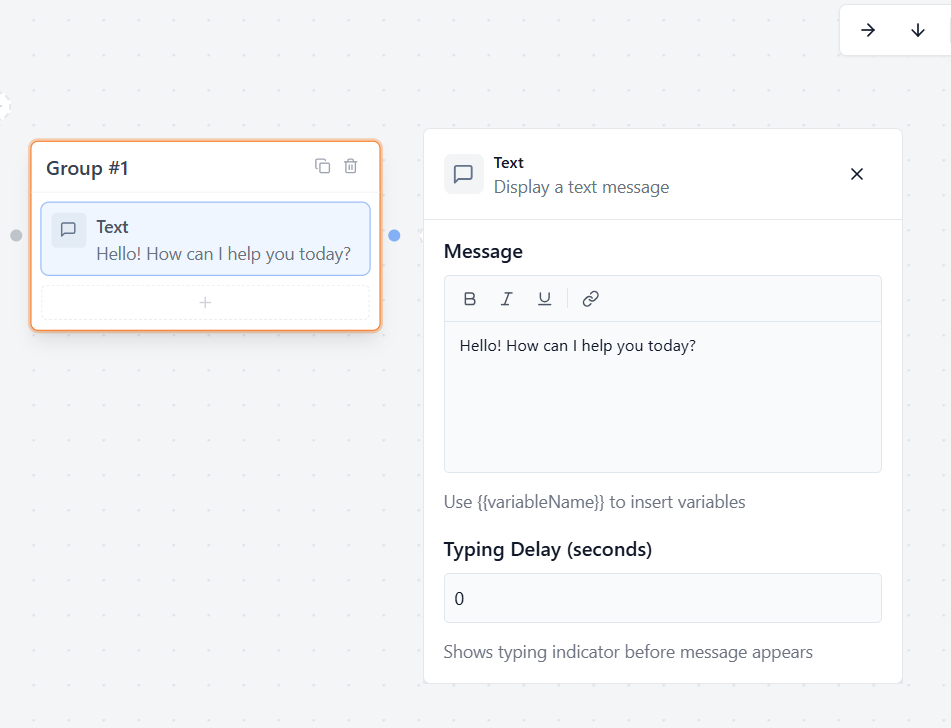
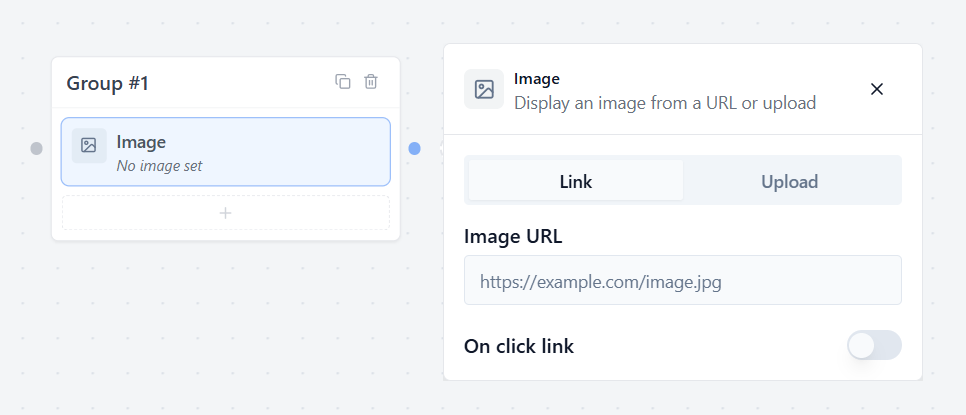
Image #
The Image block allows you to display pictures, graphics, or logos directly inside the conversation flow. This is perfect for showing product images, brand logos, or adding visual elements to break up text messages.
Image Source Options #
You can add an image to your chat flow using two simple methods:
1. Link Tab #
Paste a direct image URL from the internet into the Image URL field.
Example: https://yourwebsite.com/images/product.jpg
2. Upload Tab #
Upload an image directly from your computer or select an existing file from your WordPress Media Library.
Interactive Settings: On click link: #
Enable this option to make your image clickable.
How it works:
When enabled, a new input field will appear where you can enter a destination URL.
Example:
https://example.com
Result:
When users click or tap the image during the live chat conversation, they will be redirected to the specified website link.
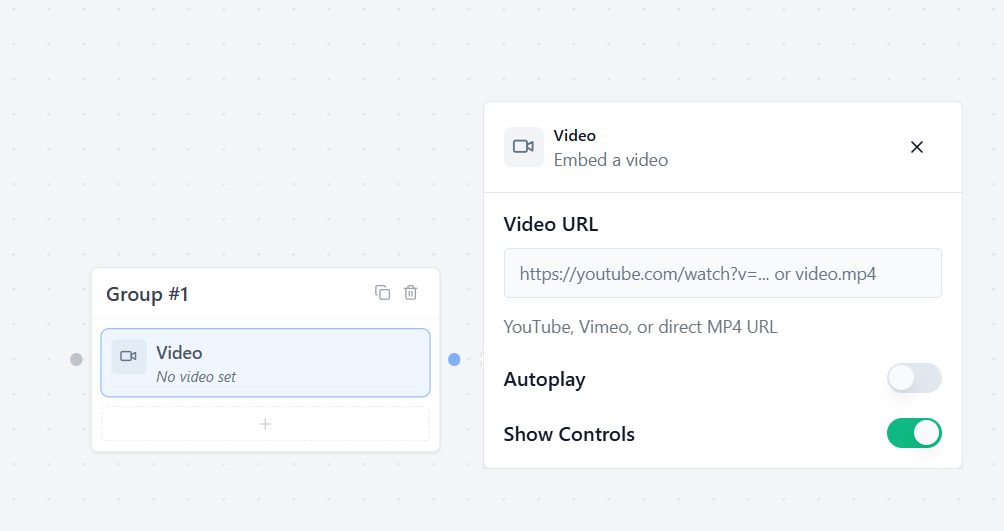
Video Bubble #
The Video block allows you to embed an interactive video player directly into your conversation flow. This is a great way to show product demos, share a personal welcome video, or display video tutorials right inside the chat window.
Video URL #
Paste the direct link to your video inside this input box. Formgic supports three types of video links:
- YouTube links (e.g., https://youtu.be/…)
- Vimeo links (e.g., https://vimeo.com/…)
- Direct MP4 URLs hosted on your own server or WordPress media library.
Autoplay #
Toggle this switch if you want the video to start playing automatically as soon as it appears in the chat bubble.
- Tip: Leaving this off lets the user click “Play” whenever they are ready.
Show Controls #
Toggle this switch to show or hide the player controls (like the Play/Pause buttons, volume slider, and video progress bar).
- Enabled (Green): Gives users full control to fast-forward, pause, or change the volume.
- Disabled: Hides the player interface controls for a cleaner, distraction-free appearance.
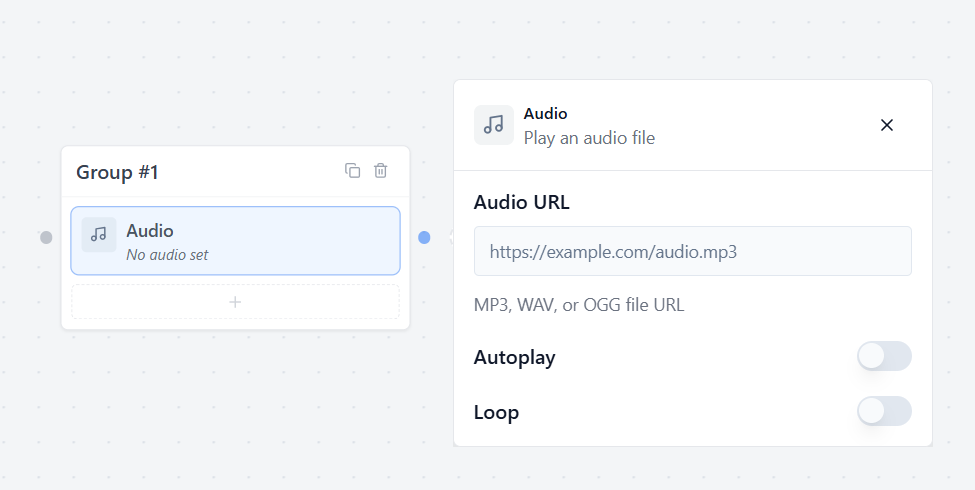
Audio Bubble #
The Audio block allows you to add an audio player directly into your chat flow. This is perfect for playing recorded voice notes, background tracks, or audio explanations right inside the conversation window.
Audio URL #
Paste the direct link to your audio file inside this input box. Formgic supports popular, high-quality audio file formats:
- MP3 links (e.g., https://example.com/voice-note.mp3)
- OGG links (e.g., https://example.com/audio-track.ogg)
- WAV links (e.g., https://example.com/sound-effect.wav)
Autoplay #
Toggle this switch if you want the audio clip to start playing automatically the exact second it appears in the chat window.
- Tip: For a better user experience, leaving this off lets your users click the “Play” button manually whenever they are ready.
Show Controls #
Toggle this switch to show or hide the visual audio player bar (which contains the Play/Pause button, track time progress tracker, and volume adjustments).
- Enabled (Green): Displays the full audio player bar so users can track the duration, pause, or change the sound volume.
- Disabled: Hides the player interface control layout completely for a fully clean and invisible audio playback style.
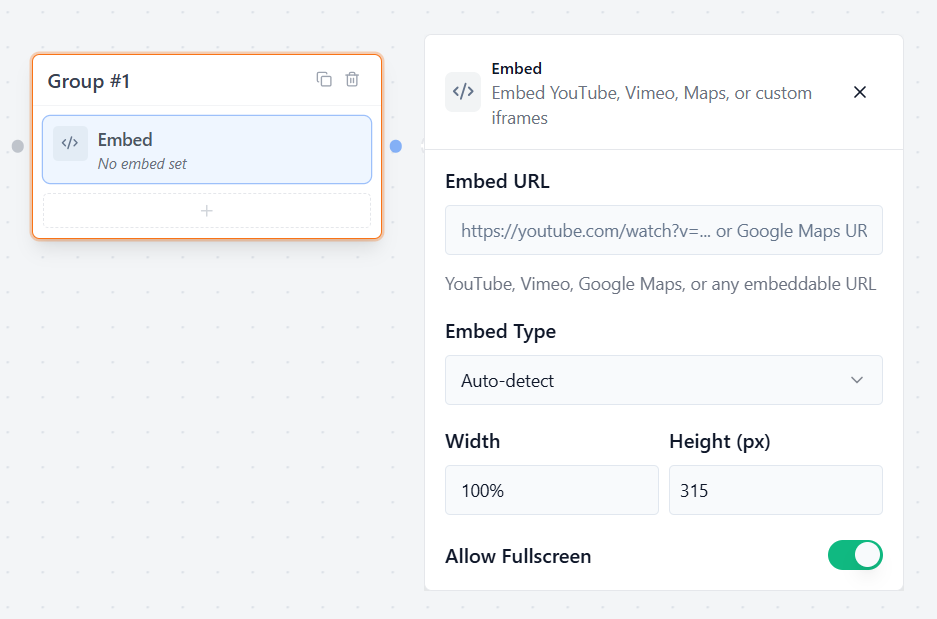
Embed Bubble #
The Embed block allows you to insert external content like YouTube videos, Vimeo clips, Google Maps, or custom interactive pages directly inside your conversation flow. Instead of sending users away to another website, you can show the content right inside the chat window.
Embed URL #
Paste the web address or frame link of the content you want to display inside this input box. Formgic supports:
- YouTube or Vimeo videos
- Google Maps locations
- Any standard embeddable webpage or iframe link
Embed Type #
Choose how Formgic reads your link.
- Auto-detect: Keep this selected! Formgic will automatically figure out if your link is a YouTube video, a Google Map, or a standard website frame and display it perfectly.
Width & Height (px) #
Control the size of the embed window on your canvas and live chat:
- Width: Sets how wide the block will look.
- Height (px): Type a number (like 300 or 450) to set the exact height in pixels so your content fits beautifully without getting cut off.
Allow Fullscreen #
Toggle this switch to let your users expand the embedded content.
- Enabled (Green): Adds a fullscreen button. Users can click it to make a video or map fill their entire screen for a better view.
- Disabled: Keeps the embedded content fixed at the height and width size you set above.


